Welcome to our Knowledge Base Hub Article - the aim of this page is to help you navigate to whatever answers and help you may need from an organized jumping off point. Please read on below to find links and answers to any questions or help you may need. If you don't see something here try searching for keywords relevant to your desired information in the search bar - odds are, if you're asking it, someone else has before, and the answer is in here!
Choosing and Ordering your Brackets:
First things first - before you get started on any project, you'll want to make sure you pick the right tool for the job! This means figuring out whether you need the aluminum or steel bracket (most projects we see use the aluminum but ultra heavy projects or many fireplace mantels require the steel option), and making sure you have the right tools for the job. For the purposes of the content in the article we will be referring to the standard aluminum bracket, since the steel is a custom ordered option that will always be set up in depth through our team.
Once you've figured that out, your next step is to figure out your shelving dimensions, plan and material. We only sell the bracket, so you'll need to source your own shelves for your own projects - we have several authorized shelf providers that may be of help. Being aware of the minimum required shelf thickness, and maximum shelf thickness, and maximum shelf depth are also important. You'll also need to know the dimensions of the bracket - the steel is custom ordered so this will change, but the standard aluminum dimensions are available here. We sell the bracket in several pre-set lengths which you can view on our website, but it is designed to be cut down to length to meet your needs (provided you can still hit at least 2 studs for full strength). You can see some common bracket / shelf length combinations here.
Preparing your Shelves:
Once you have your shelves / brackets in hand, it's time to get to work! If your shelf provider hasn't already done it for you, you'll need to create a channel in the back of the shelf. You'll also want to make sure this channel is the correct height in the shelf to make sure it can be angled into place later in the installation. It's also very important to note that the channel depth will change based on the wall type that you are installing to - softer surfaces like drywall require a shallower depth than hard surfaces like tile.
Installation:
Now that you have your shelves and brackets ready to go, it's time to get those bad boys up on the walls! You can view our installation guide as well as several instructional videos on our website here or check out our YouTube channel for more guides. Your first step here is going to be installing the male bracket to the wall - remember that for the standard strength you need to be hitting at least 2 studs - ideally as many as possible in any given install. You may need different screws or anchors based on your individual project. Sometimes you may need to alter the bracket. The brackets come with pre-drilled holes but you can add more if needed as long as you don't go overboard and compromise the bracket.
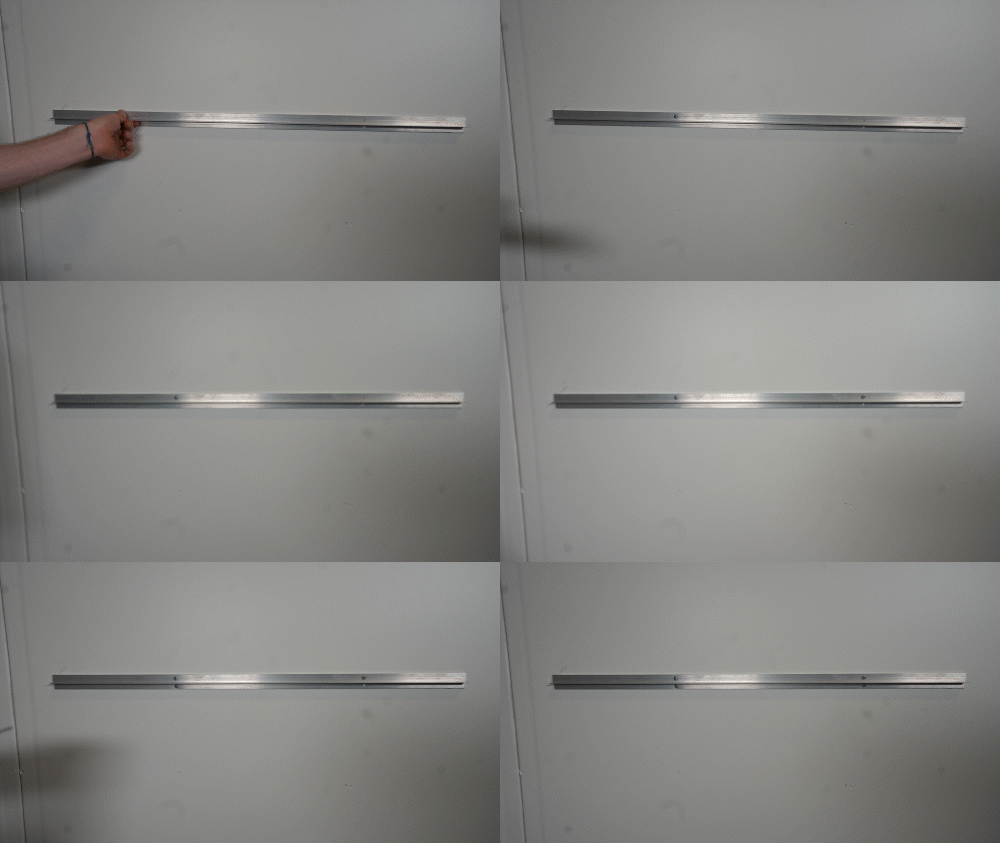
You'll also need to attach the female bracket into the back of your shelf in the channel you've created: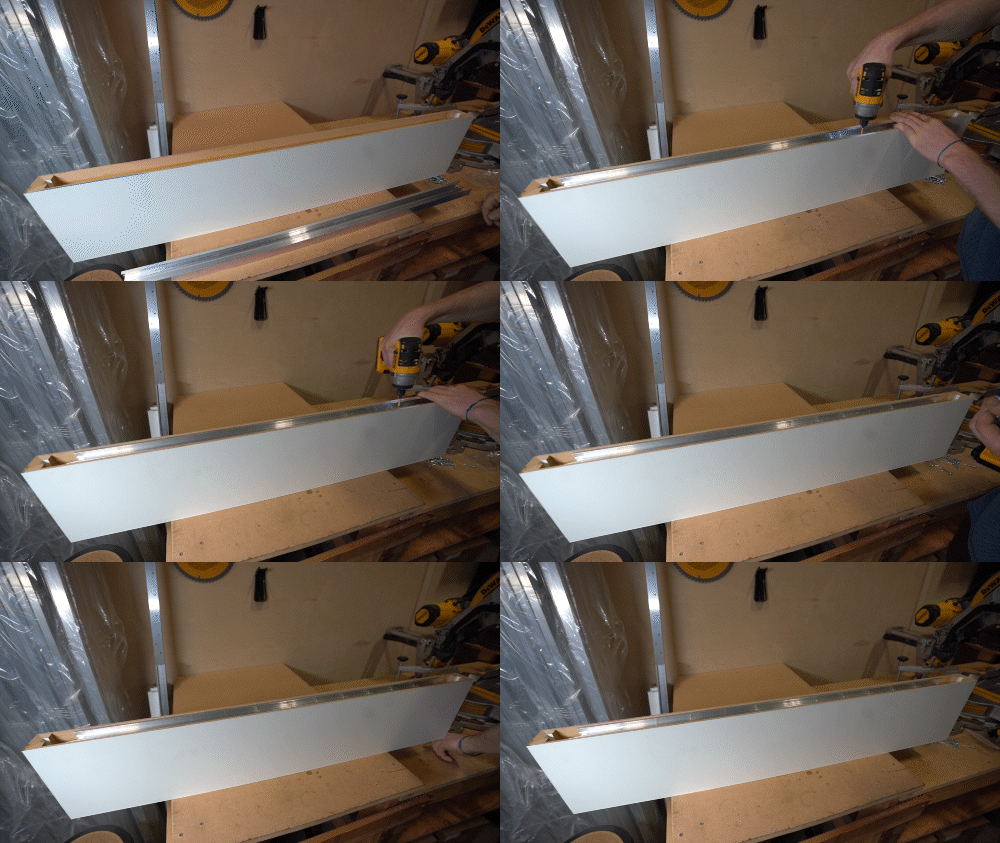
You'll also need to drill the holes and threads for your set screws, which you will use at the end to lock the two brackets together: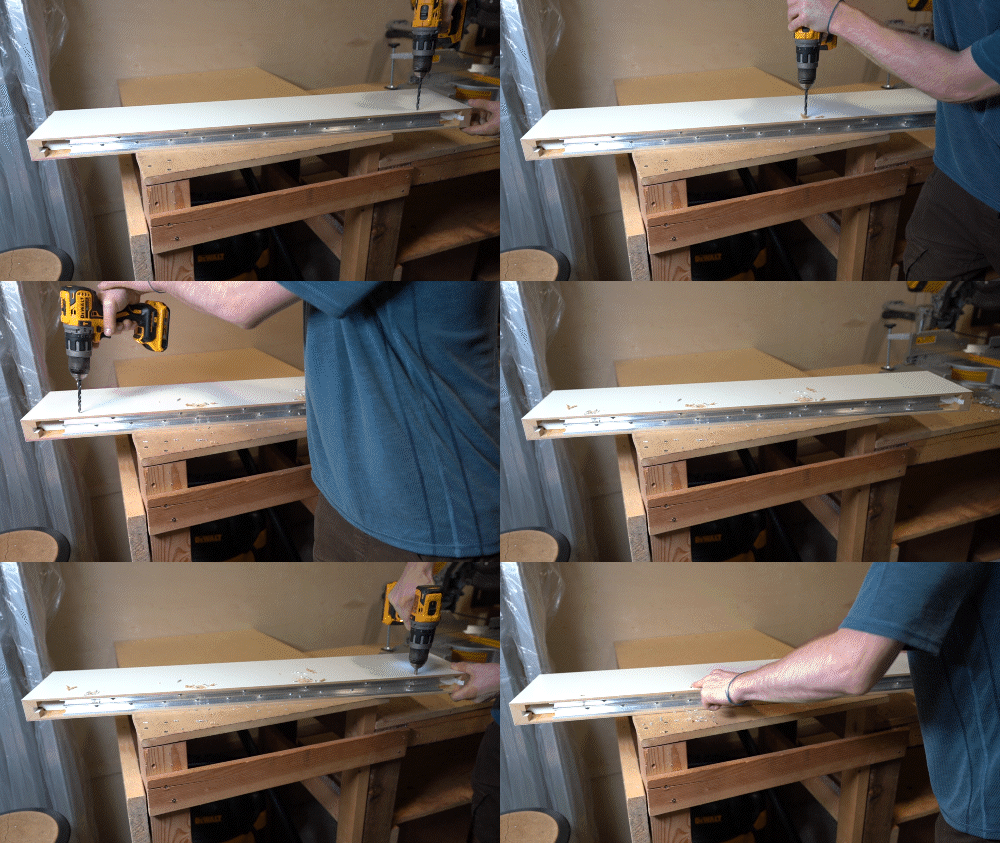
Next, it's time to combine the two brackets together.
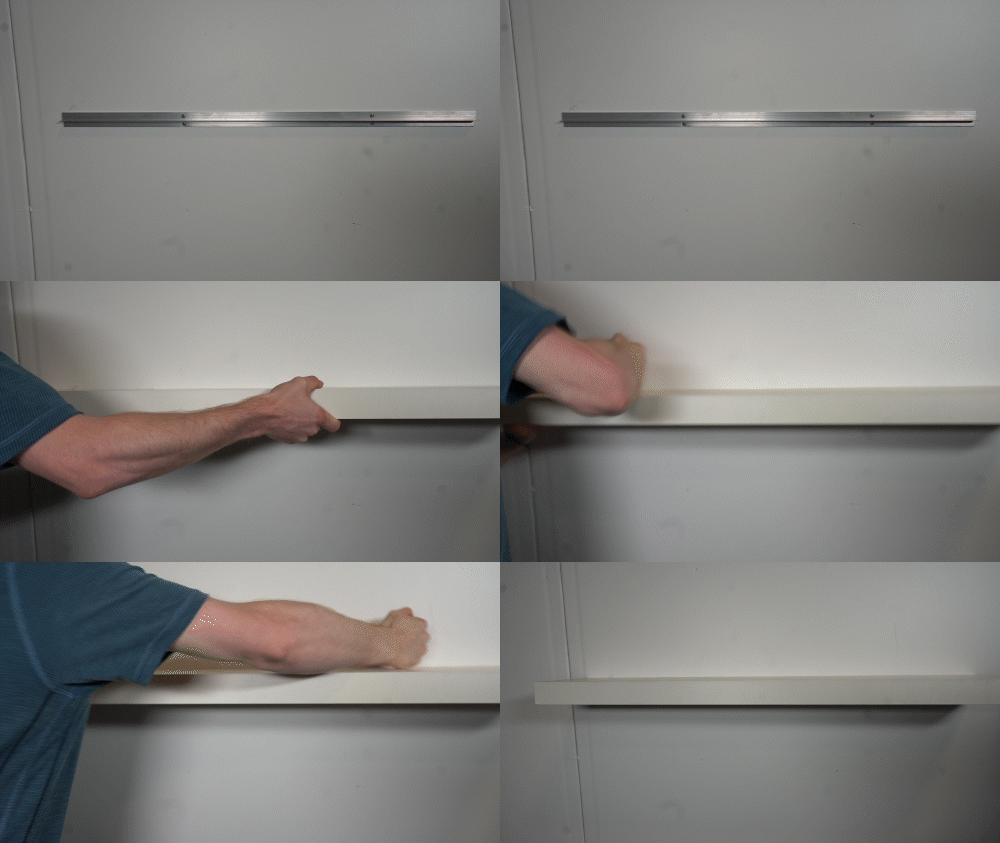
Then, you'll want to use either set screws (always recommended and less permanent) or glue (alternative, more permanent, less secure option) to secure the two components together.
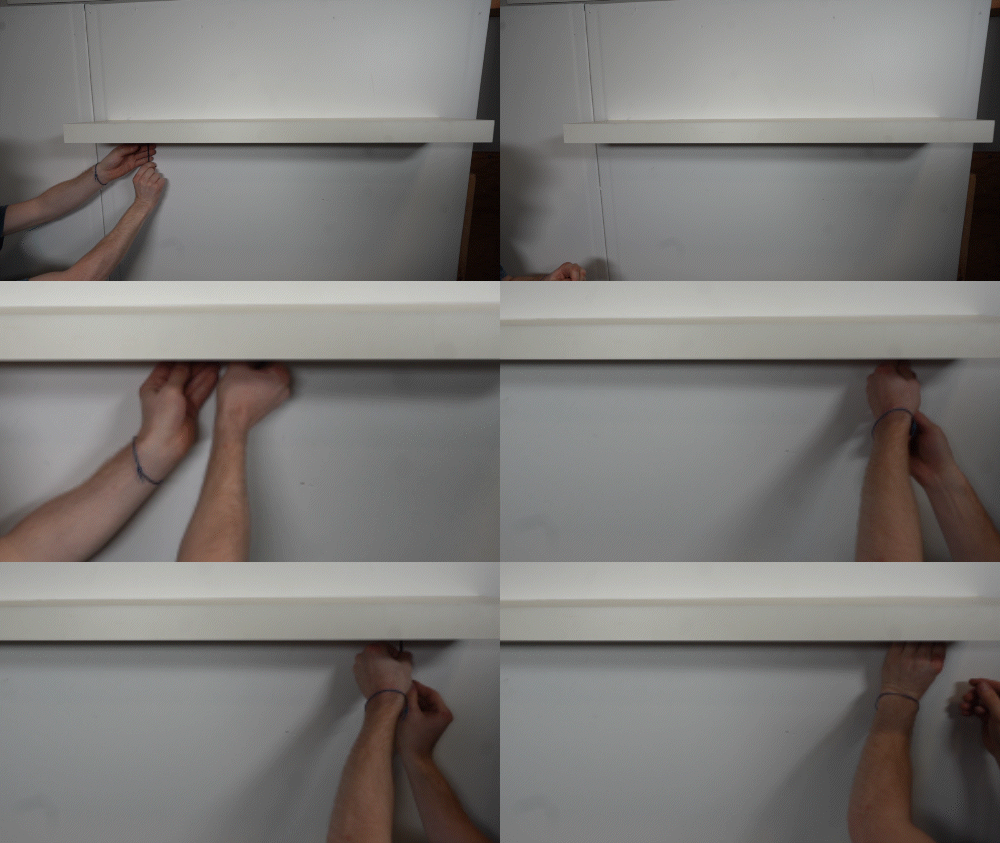
For installations under non-standard conditions, like corner shelving, high-traffic shelving, or shelving with alternate materials, start here.
Troubleshooting:
Once in a while, something can go wrong during an installation or a step can be missed - it happens to the best of us. Good news, you're in the right place - this Knowledge Base aims to answer all the common questions we see from customers and people interested in the Hovr. Sometimes an improperly installed shelf may seem loose, slanted, or wiggle - The best place to start when this happens is this troubleshooting page here - this page alone solves 99% of the issues we see customers run into when completing an installation. If you still can't find the solution to a problem after reviewing our content here, you can always contact our team and someone will get back to you as soon as we have more information or a solution for you.
Other Common Questions:
Shipping, Delivery and Pick-Up Questions
Authorized Distributor, Reseller, Commercial / Trade Pricing, Discounts, Partnerships, and More