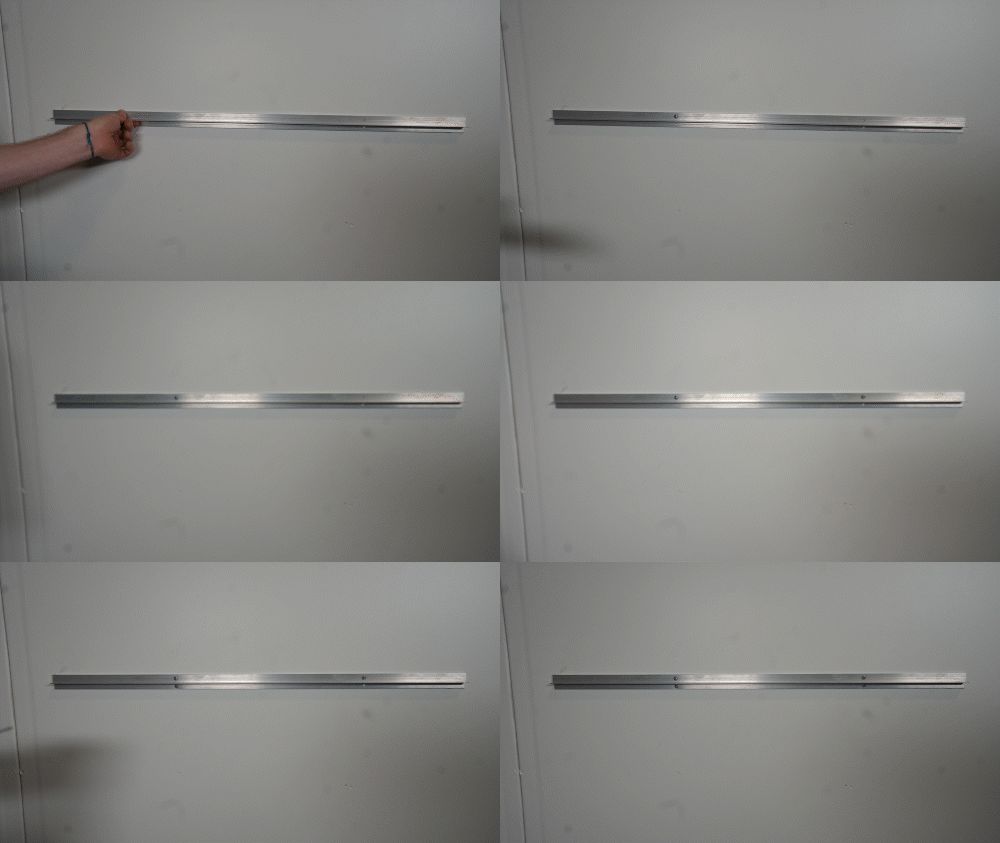
In order to attach the male bracket to the wall, you have to find the studs you plan to use in the wall (we always recommend at least 2, often more depending on your install), mark them on the male bracket, and then drill holes with the small 3/16 drill bit on the top and bottom dyelines.

Then you can take the long screws (2 ½” pan head wood screws) provided and attach the male bracket to the wall (with the flat side against the wall) using these holes. To do so, you'll need a Robertson Driver (#2). Remember that with tile or brick, it's especially important to make sure you don't go too hard when attaching, lest you damage the surface.

You Need:
Pencil, Level, Screwdriver / Impact Driver