CAN YOU USE THE ALUMINUM HOVR BRACKETS IN STONE / CONCRETE SHELVES?
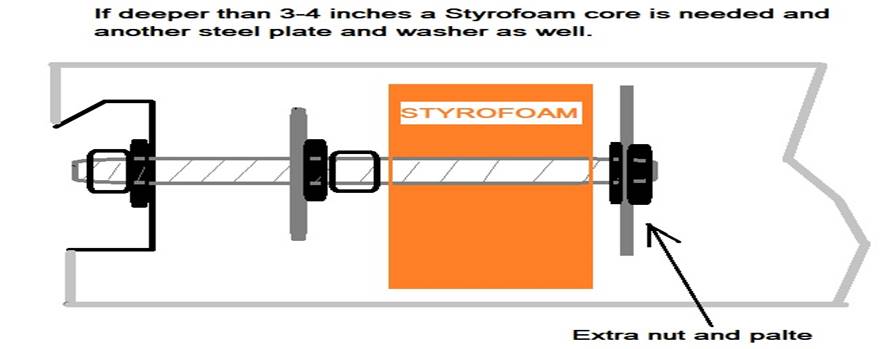
We see a question once in a while about whether it's possible to use our system to mount stone or concrete shelves. Concrete shelves are even heavier than solid engineered stone or granite. This is why they usually have a Styrofoam core - even if it is only a small one.
One concrete is not equal to another - there can be a lot of variables that depend heavily on the mix. More sand or even small gravel will make it porous; the wrong water to concrete ratio mix can make it unstable, etc.
This means that if a customer wants a concrete shelf, we always insist that they go to a professional concrete pouring manufacturer such as Liquid Stone Studios in Ladysmith, BC.
Using the aluminum bracket in a stone concrete applications is almost never recommended but not impossible. In this scenario, the bolts required are simply too big and would interfere in the small space between the brackets and stop them from connecting properly. We have however, seen a few of these projects carried out successfully using our steel bracket, which is meant for heavier installations and has more space to fit the previously mentioned bolts.
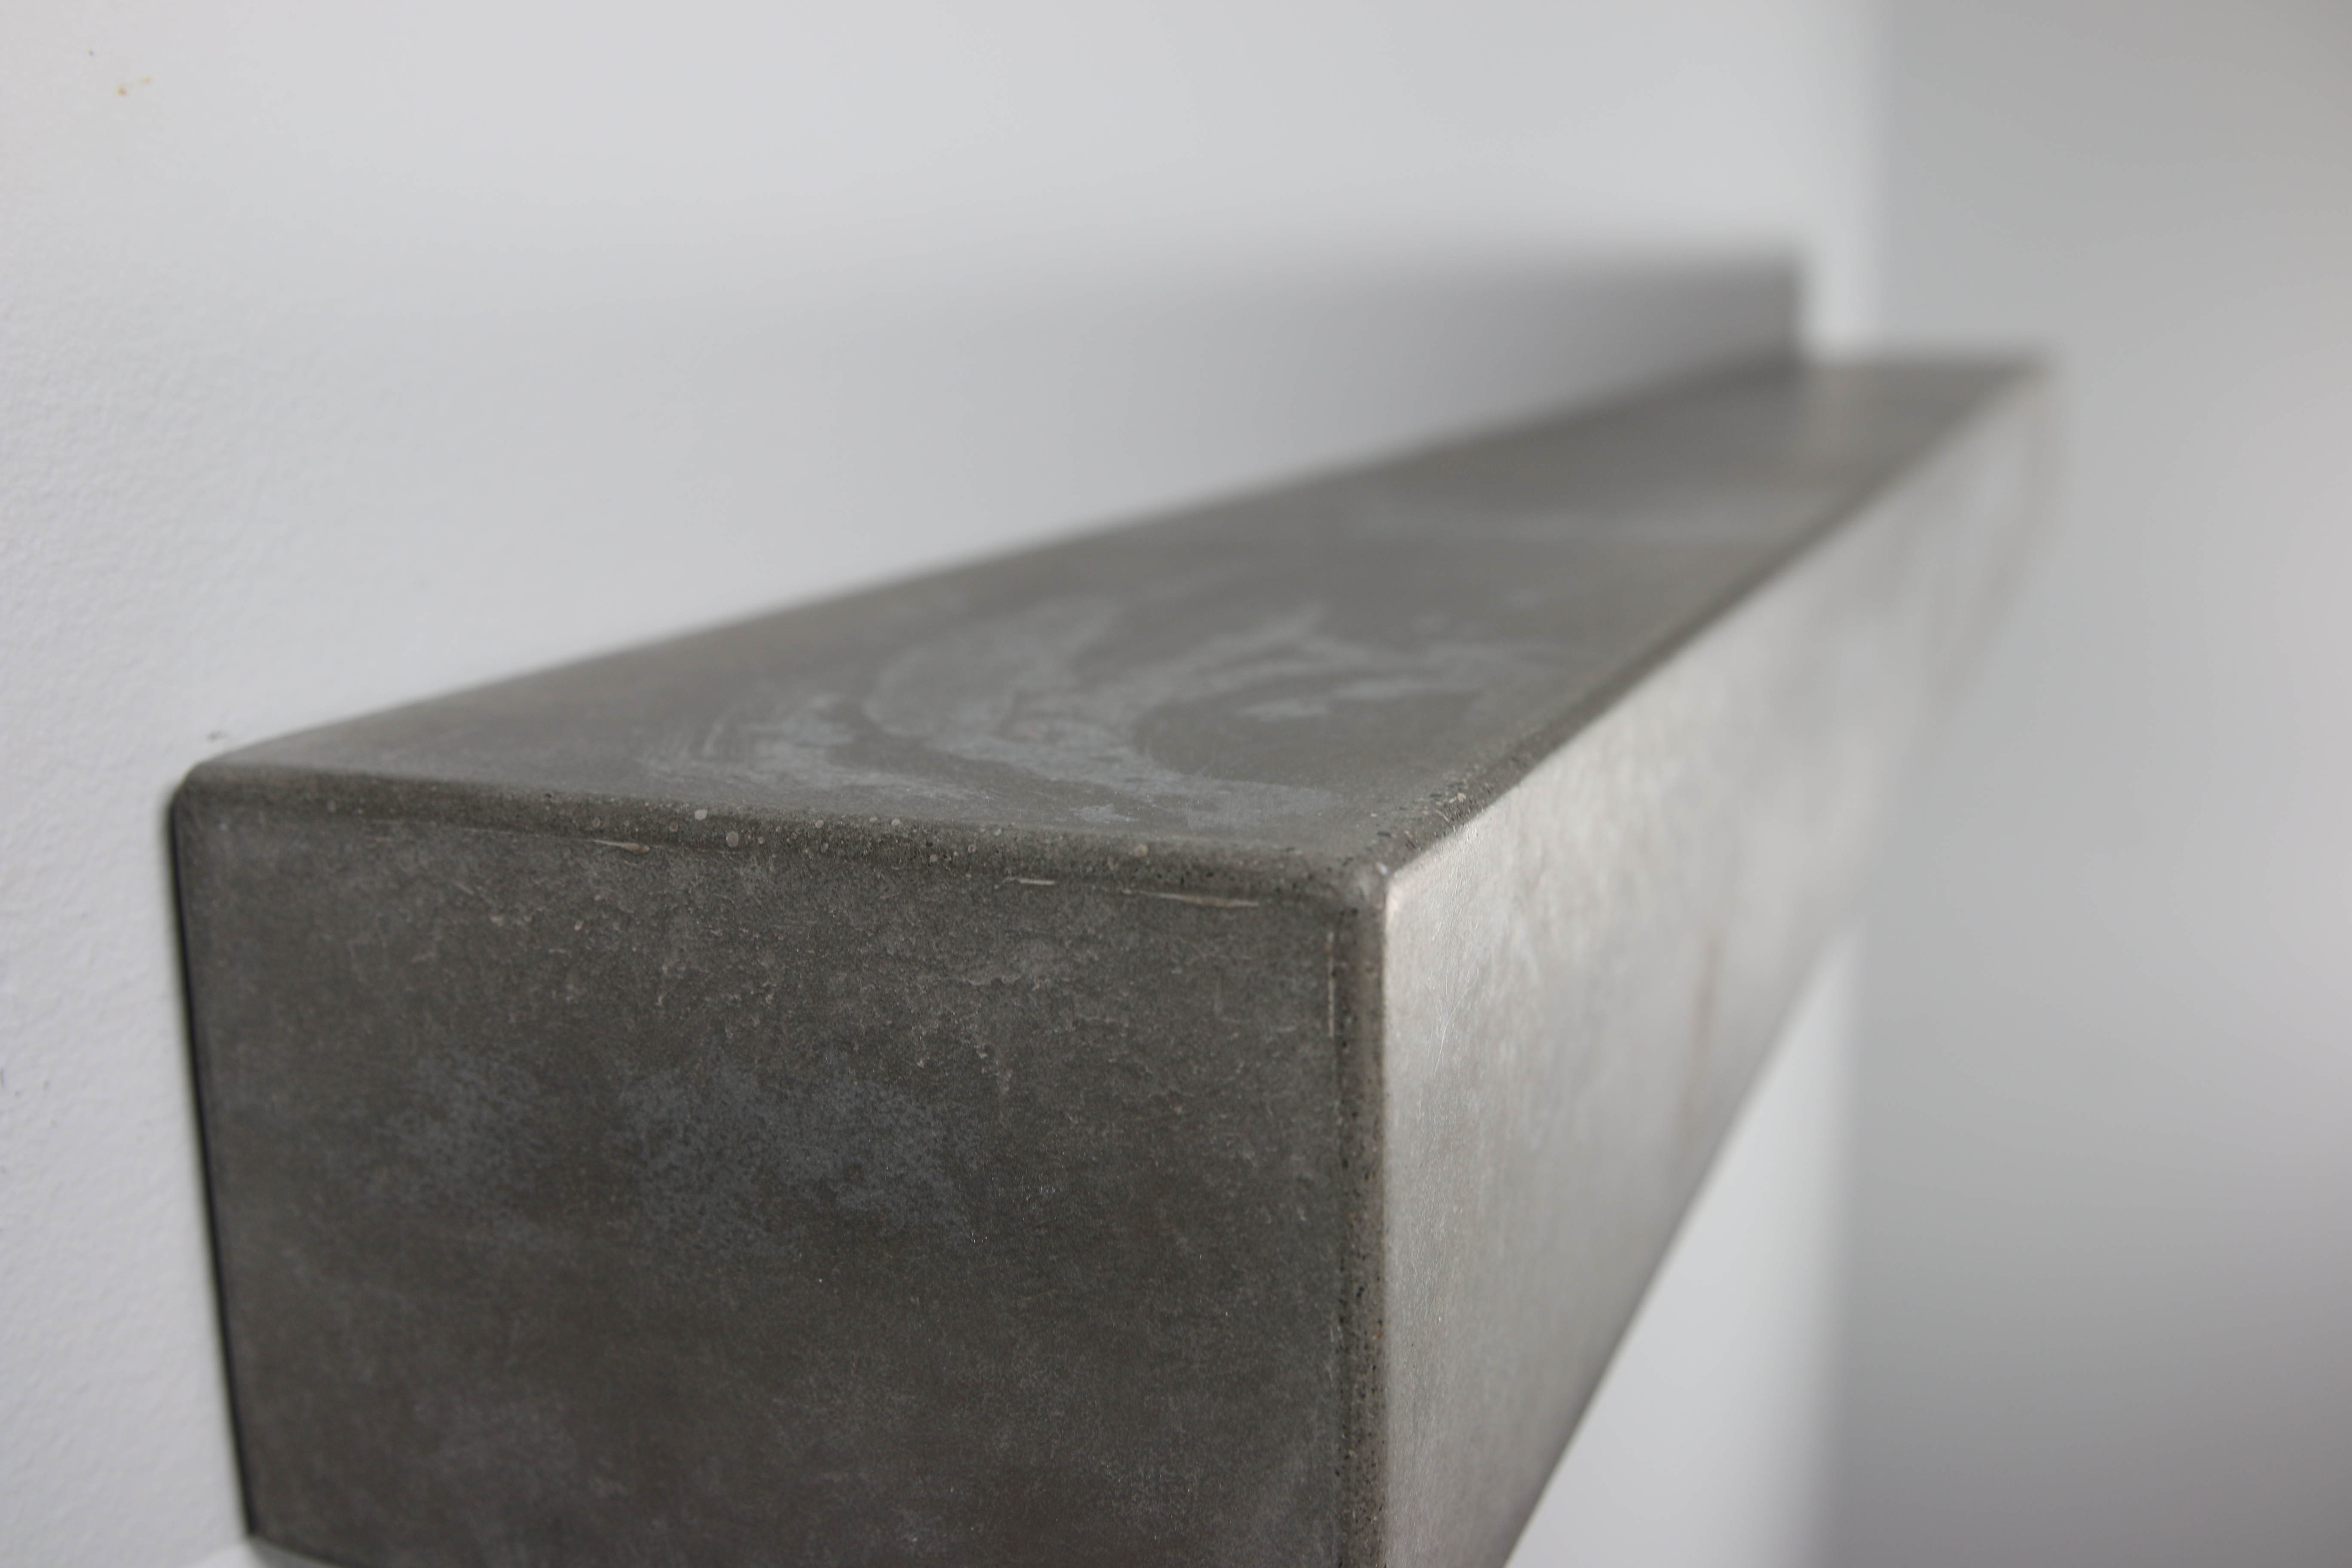
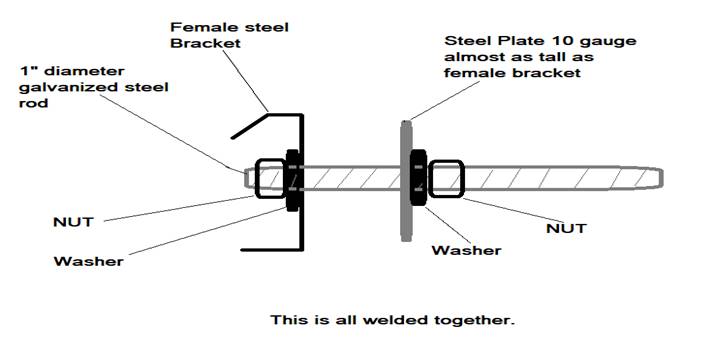
In the below example, the washer and nut were welded to the steel bracket, since a steel plate was needed inside the concrete shelf to hold it up.
Then a silicone form was made that inside looks like the shelf (depth width and length). From there, a wooden form was created into which the silicone form goes. Finally, the concrete is poured into that form.
Next, the concrete was colored to the customers specifications. Then, it was vacuum sealed, and an effort is made to get all the air out. After 2 or more days, the form is removed and it is all one piece.
As you can see, there is no epoxy or other glue. Concrete is simply too porous to be glued for our purposes here.
Ultimately, traditional installations of concrete shelves will realistically almost always require our custom steel bracket, and are simply not recommended with our aluminum system. Also, please always remember to reinforce the wall properly!
To learn more about the custom bent Steel Hovr Bracket System, click here. From here we move on to:
3 DIFFERENT METHODS TO INSTALL CONCRETE / STONE SHELVES USING HOVR
So we've ruled out the aluminum bracket as an option (though there is an option for those looking to make the aluminum brackets work - just not for solid slabs - in variation 3 below) and you've decided to use the steel bracket here. Great! Here are the key steps for a couple variations:
VARIATION 1:
For heavy, solid granite shelves you would take 3x 1" thick material and start by cutting the back of the middle piece (approximately 3/4" deep) with a space to accommodate the steel bracket (in this scenario 2 1/2" tall and 3/4" deep).
Next you want to notch out the top and bottom pieces but leave 1/4" of material on the top and bottom piece to conceal the bracket when finished.
Once you've done this, you will glue them together and you have a perfect channel with which to house and conceal your bracket in the shelf.
Next we drill large long holes for lag bolts, insert the brackets, and then glue the lag bolts into place. This will help you have a secure mount for the significant weight of the shelf itself.
VARIATION 2
For Light Marble, things are a little different. You can take a full piece and stand it up on the table saw, and using a grinding blade as a router, cut a channel in the shelf. This will take quite a few passes and some patience (always be careful and safe), since you can only remove so much material at once. After you are done, you will end up with a curve on either end of the shelf from the deep section of the channel out towards the back of the shelf from the rounded blade, same as you would from using a dado blade on a wood saw table. Instead of easing the piece in with wood, you ease the blade in here.Even given the different methods and options provided by this variation, we still recommend the use of the steel bracket here.
That said, it depends on the size of the marble shelf in each case, particularly important is it's depth and intended use/loading.
This is because the options for screws that we can use to attach the male bracket to the wall are relatively small (maximum #10) meaning it is perfectly possible for enough weight (from the combination of the heavy shelf and the items loaded on it) to rip the screws right through the thinner aluminum bracket on the wall. This is far less likely if the shelf is very lightly loaded purely with small decorative items, but important to consider.
However, a word of caution. If it does get overloaded in this way, it could fail suddenly and dramatically since the screws would likely rip first through the aluminum bracket suddenly. Particularly if too much pressure is applied to the front edge of the shelf, this could happen in stages or all at once, ripping through the bracket and/or off the wall. The anchoring system used to affix the bracket to the wall and the type of wall / surface the bracket is anchored to are also relevant here. For example if attached only into flimsy brick, the whole thing could easily come down. That being said, you should see the shelf slant first before this happens - this is your early warning.
And remember - granite and marble have a lot of weight to them, and have sharp corners - should the shelf fall, this could do significant harm to anything below it on it's way down. The last thing you want is damage done to the floor or worse yet, someone or something living in the space. This can do a lot of damage.
So, then, what do we recommend?
VARIATION 3 (The Best One)
The carcass / cladded shelf. This can be used even for metals such as copper (that can be quite heavy as well), stainless steel, leather, really almost anything you can imagine. 
In this scenario you will build a 'skeleton' for your shelf out of wood and cover the outside.


This solves the biggest problem by reducing weight dramatically, meaning it is also the only one safe for use with the aluminum Hovr Classic or Hovr Slim (this is why we said you can ALMOST never use these for stone shelves). You will also use way less material which could save you some cost as well. The work can require some fine detail, skill, and patience - especially when doing it with miter cuts instead of butt joints - but if done right, you can end up with a final product that looks spectacular.
This is also the best way to do a project with tiles (ie. marble, ceramic, natural, etc). Optionally, you can first install some 3/16" plywood for support.
You can also purchase "engineered quartz" stone slabs nowadays that are no thicker than 1/4" and look so real you need to touch them to realize they aren't real marble or granite slabs. Availability and options for suppliers has only continued to grow in recent years.
.JPG)
Ultimately, these are non-standard installs, and you want to be educated, careful, and thoughtful about how you do projects like this, but with a little knowhow and a good plan, it is certainly feasible.